How to Adjust Print Settings for Optimal Output on a UV Flatbed Printer
UV flatbed printers have revolutionized the printing industry, offering versatility and high-quality output across a wide range of materials. Whether you’re printing on glass, metal, plastic, or even wood, achieving optimal print results requires a keen understanding of your printer’s settings. This guide will walk you through the essential adjustments you need to make to ensure your UV flatbed printer delivers the best possible output.
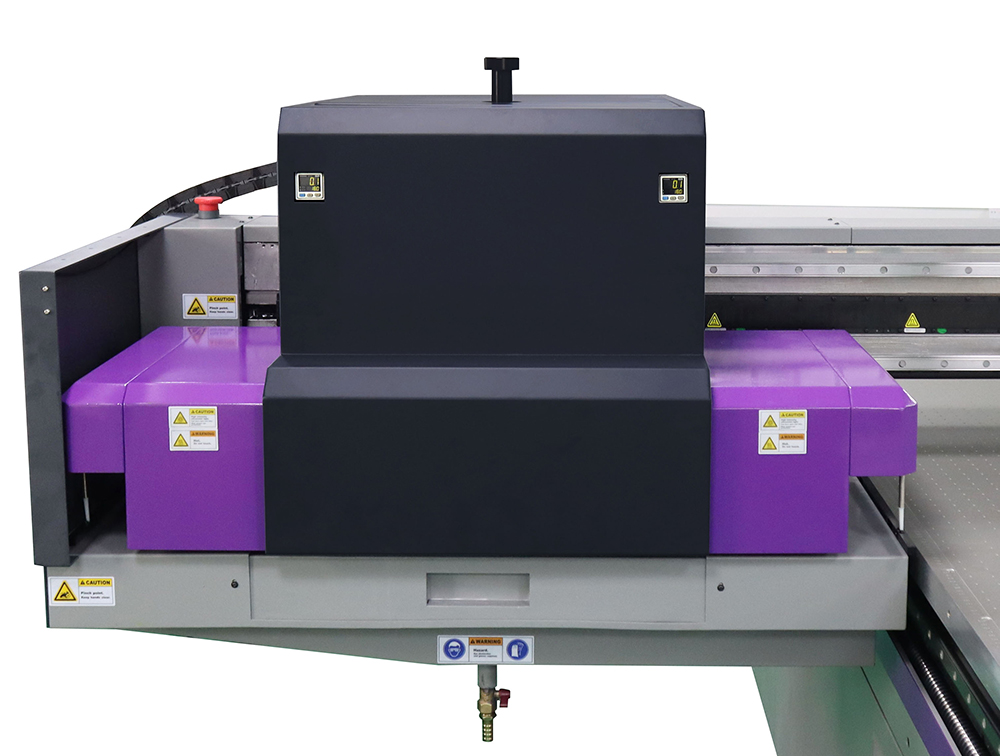
1. Understanding the Basics of UV Flatbed Printing
Before diving into the specifics of adjusting print settings, it’s crucial to have a basic understanding of how UV flatbed printers work. These printers use ultraviolet (UV) light to cure or harden the ink as it’s deposited onto the material. This process allows for quick drying times and durable, smudge-resistant prints.
The quality of your prints is influenced by several factors, including ink type, printer resolution, material type, and, of course, the print settings. Let’s explore each of these settings in detail and how to fine-tune them for optimal results.
2. Adjusting Ink Density and Drop Size
Ink density refers to the amount of ink deposited on the material, while drop size pertains to the individual ink droplets’ volume. Both settings significantly impact the final print quality.
Ink Density: Too little ink can result in faded or washed-out prints, while too much ink can cause bleeding or smudging. To find the perfect balance, start with the manufacturer’s recommended settings and make slight adjustments based on your specific material and desired outcome. For example, when printing on absorbent materials like paper or fabric, you may need to increase ink density slightly to ensure vibrant colors.
Drop Size: Smaller drop sizes allow for finer details and smoother gradients. However, they can also slow down the printing process. Conversely, larger drop sizes speed up printing but may sacrifice some detail. For high-resolution graphics or photographs, opt for smaller drop sizes. For text or large, solid areas of color, larger drop sizes may suffice.
3. Calibrating Printer Resolution
Printer resolution measures the number of dots per inch (DPI) that the printer can produce. Higher DPI settings result in sharper, more detailed prints. However, they also require more ink and processing power.
Standard Resolution: For everyday printing tasks, such as signage or promotional materials, a resolution of 300-600 DPI is usually sufficient.
High Resolution: If you’re printing fine art, detailed technical drawings, or any material where precision is critical, consider increasing the resolution to 1200 DPI or higher. Keep in mind that higher resolutions will increase print times and ink consumption.
4. Optimizing Print Speed
Print speed is a crucial factor, especially in a busy production environment. However, sacrificing speed for quality is often necessary to achieve optimal output.
Balancing Speed and Quality: Start by setting the print speed to a moderate level and gradually adjust it based on your observations. If prints appear streaky or incomplete, slow down the speed. Conversely, if quality is acceptable and you need to increase productivity, try speeding up the process.
Material Considerations: Some materials, such as thick or uneven surfaces, may require slower print speeds to ensure proper ink adhesion and cure.
5. Adjusting UV Curing Settings
The UV curing process is vital for the durability and appearance of your prints. Improper curing can lead to tacky or faded prints, while over-curing can cause cracking or discoloration.
Curing Intensity: This setting determines the strength of the UV light used to cure the ink. A higher intensity can speed up the curing process but may require careful monitoring to avoid over-curing. Start with the manufacturer’s recommended settings and adjust as needed based on the material and ink type.
Curing Time: The amount of time the UV light is exposed to the ink also affects the curing process. Too little time can result in incomplete curing, while too much time can damage the material or ink. Experiment with different curing times to find the sweet spot for your specific application.
6. Fine-Tuning Color Management
Color accuracy is essential for professional-grade prints. To ensure your prints match your expectations, follow these tips:
Profile Your Printer: Use a color profiling tool to create a custom ICC (International Color Consortium) profile for your printer. This profile will help ensure that the colors you see on your monitor match the colors produced by your printer.
Calibrate Your Monitor: A calibrated monitor will provide a more accurate representation of your print colors. Use a monitor calibration tool to adjust your display settings for optimal color accuracy.
Test Prints: Before printing a large job, create test prints to evaluate the color accuracy. Make adjustments to the ink settings, color profiles, or printer settings as needed to achieve the desired results.
7. Considering Material Thickness and Type
The type and thickness of the material you’re printing on can significantly impact your print settings. Here are some general guidelines:
Rigid Materials: For thick or rigid materials, such as glass or metal, ensure that the printer bed is properly leveled and that the material is securely held in place. You may need to adjust the print head height or use a different type of ink to achieve optimal adhesion.
Flexible Materials: When printing on flexible materials, such as vinyl or fabric, use a material holder or roller system to keep the material flat and prevent wrinkles. Adjust the ink density and curing settings as needed to account for the material’s absorbency.
8. Troubleshooting Common Issues
Even with the best print settings, issues can arise. Here are some common problems and their solutions:
Banding: This issue appears as horizontal lines across the print. It can be caused by a clogged nozzle or inconsistent ink flow. Clean the print heads and check the ink supply to resolve the issue.
Bleeding or Smudging: Excess ink or improper curing can cause bleeding or smudging. Adjust the ink density, drop size, or curing settings as needed to prevent these issues.
Color Shifting: If the colors in your print appear different from the original design, check your color management settings and ensure that your printer and monitor are properly calibrated.
Achieving optimal output from a UV flatbed printer requires careful adjustment of several settings, including ink density, drop size, printer resolution, print speed, UV curing settings, color management, and material considerations. By following the guidelines outlined in this guide and experimenting with different settings, you can fine-tune your printer to produce high-quality, professional-grade prints.
Remember to create test prints and make adjustments as needed to ensure that your final prints meet your expectations. With patience and practice, you’ll be able to master the art of UV flatbed printing and produce stunning results on a wide range of materials.