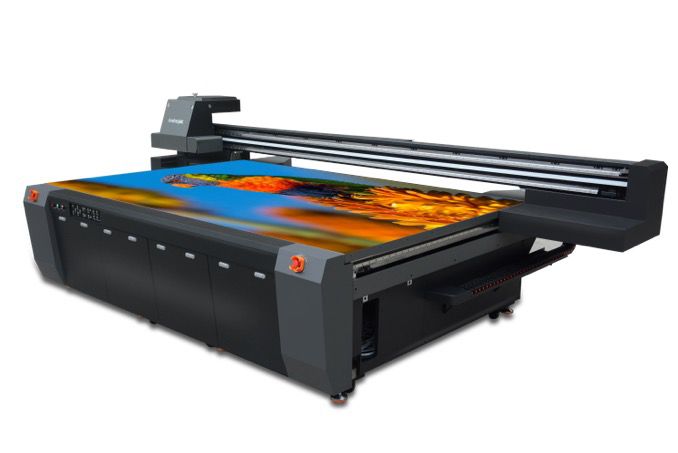
How to Adjust the Ink Density on a UV Flatbed Printer?
How to Adjust the Ink Density on a UV Flatbed Printer?
In the world of printing, UV flatbed printers have become increasingly popular due to their versatility and efficiency. These printers utilize ultraviolet (UV) light to instantly dry and cure the ink, allowing for faster turnaround times and more durable prints. However, to achieve optimal print quality, it is essential to adjust the ink density correctly. This article will guide you through the process of adjusting ink density on a UV flatbed printer, ensuring that your prints are vibrant, precise, and long-lasting.

Understanding Ink Density
Ink density refers to the concentration or thickness of the ink applied to the printing surface. A higher ink density results in a richer, more saturated color, while a lower density produces a lighter, more transparent effect. Adjusting ink density allows printers to fine-tune the final appearance of their prints, balancing color vibrancy with ink usage and drying time.
Factors Influencing Ink Density
Before adjusting ink density, it’s crucial to understand the factors that can affect it. These include:
Ink Type: Different inks have varying densities and color saturation levels. UV-curable inks, for instance, are specially formulated to cure quickly under UV light, affecting their density and spread on the printing surface.
Printing Material: The type of material being printed on (e.g., vinyl, glass, metal, etc.) significantly influences how the ink is absorbed and displayed. Some materials may require more or less ink to achieve the desired effect.
Print Speed: Faster print speeds may result in lower ink density, as the ink may not have enough time to settle properly on the material. Slower speeds, on the other hand, allow for more controlled ink deposition.
Print Head and Nozzle Settings: The condition and calibration of the print heads, as well as the nozzle size and spray pattern, directly impact ink density. Clogged or misaligned nozzles can cause uneven ink distribution.
UV Lamp Intensity: The strength and duration of UV exposure affect how the ink cures and settles on the material. Too much UV exposure can cause the ink to cure too quickly, resulting in a different final appearance.
Steps to Adjust Ink Density
Now that we understand the influencing factors, let’s explore the steps to adjust ink density on a UV flatbed printer:
Calibrate the Printer: Before making any ink density adjustments, ensure that the printer is properly calibrated. This involves checking the print heads, nozzles, and ink levels to ensure everything is functioning optimally.
Choose the Right Ink: Select an ink type suitable for your printing needs, considering the material you’re printing on and the desired final effect.
Adjust Print Settings: Most UV flatbed printers allow you to adjust various print settings, including ink density. Look for options labeled “ink volume,” “ink limit,” or similar, and adjust accordingly. Start with a low setting and gradually increase until you achieve the desired density.
Test Prints: Conduct test prints on scrap materials to dial in the perfect ink density. Compare the results with your desired output and make adjustments as needed.
Monitor UV Lamp Settings: Ensure that the UV lamp settings are appropriate for the ink and material being used. Adjust the UV exposure time and intensity for optimal curing and color saturation.
Regular Maintenance: Perform regular maintenance on your printer, including cleaning the print heads and nozzles, to ensure consistent ink density over time.
Troubleshooting Ink Density Issues
If you encounter ink density issues, such as patches of lighter or darker color, here are some troubleshooting tips:
Check Ink Cartridges: Ensure that all ink cartridges are full and properly installed. Low or empty cartridges can cause ink density problems.
Clean Print Heads: Clogged print heads can lead to uneven ink distribution. Regularly clean the print heads to maintain optimal performance.
Adjust Nozzle Settings: If the nozzles are not properly aligned or calibrated, it can affect ink density. Check and adjust nozzle settings as needed.
Monitor Material Quality: Poor quality or contaminated printing materials can affect ink absorption and density. Use high-quality materials for best results.
Conclusion
Adjusting ink density on a UV flatbed printer is crucial for achieving the desired print quality. By understanding the factors that affect ink density and following the adjustment steps outlined in this article, you can ensure that your prints are vibrant, precise, and durable. Regular maintenance and troubleshooting can help maintain optimal ink density over the long term, ensuring consistent print quality for your UV flatbed printer.
