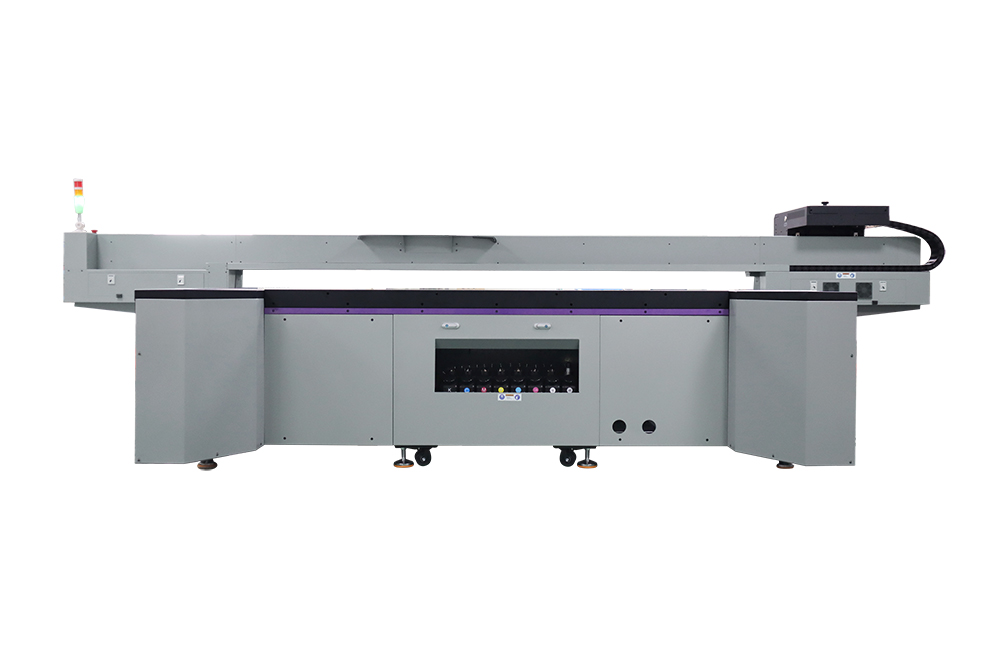
How to Optimize Print Settings for UV Flatbed Printers
UV flatbed printers have revolutionized the printing industry by enabling high-quality, durable prints on a wide range of materials, from rigid plastics and metals to textiles and glass. However, achieving optimal results requires careful adjustment of print settings. Misconfigured settings can lead to issues like ink smudging, poor adhesion, color inconsistencies, or excessive ink usage. This blog post will guide operators through essential adjustments to maximize print quality, efficiency, and longevity of prints.

Understanding Material Compatibility for Optimal Results
The first step in optimizing print settings is selecting the appropriate profile for the substrate being used. Different materials—such as acrylic, wood, metal, or fabric—have unique surface textures, porosities, and heat sensitivities. Most UV flatbed printers come with preloaded profiles for common materials, but custom profiles may be necessary for specialized substrates.
Operators should always test a small sample before committing to a full print run. Pay attention to how the ink adheres to the material: does it dry evenly? Are there signs of warping or curling? Adjusting the pre-heat settings or using a primer coating can improve adhesion on challenging surfaces. Additionally, consider the material’s thickness and rigidity to avoid damaging the print head during operation.
Mastering Resolution and Dot Size for Clarity and Detail
Resolution and dot size are critical factors in determining print clarity. Higher resolutions (e.g., 600–1200 dpi) produce sharper images but require more ink and longer print times. For applications requiring fine details—such as high-resolution graphics or text—a higher resolution is essential. Conversely, for large-format prints where fine details are less critical (e.g., billboards or banners), a lower resolution can save time and ink without sacrificing visual impact.
Dot size, controlled by the printer’s drop-on-demand technology, also influences print quality. Smaller dots create smoother gradients and finer details, while larger dots may result in a more textured appearance. Balancing resolution and dot size ensures efficient ink usage while maintaining the desired level of detail.
Adjusting Ink Layer Thickness to Balance Quality and Efficiency
Ink layer thickness directly impacts print quality, durability, and production costs. Thicker layers enhance color vibrancy and opacity but increase ink consumption and drying time. Thinner layers reduce costs but may result in faded colors or insufficient coverage on porous materials.
Operators should experiment with ink layer settings to find the optimal balance. Start with the printer’s default recommendations and adjust incrementally based on the material and application. For example, outdoor signage may require thicker layers to withstand UV exposure, while indoor displays can use thinner layers for cost efficiency. Regularly monitoring ink usage and print quality helps identify inefficiencies and refine settings over time.
Fine-Tuning Color Management for Consistent Output
Color consistency is vital for branding and aesthetic appeal. UV flatbed printers use CMYK or additional spot colors (e.g., white, varnish) to achieve vibrant hues. However, factors like material absorbency, lighting conditions, and printer calibration can cause color variations.
To ensure consistent output, calibrate the printer regularly using industry-standard tools (e.g., spectrophotometers). Adjust color profiles for specific materials to compensate for their unique properties. For example, printing on dark substrates may require a higher white ink layer to achieve true colors. Post-print varnishing can also enhance color saturation and protect against fading.
Optimizing Curing Parameters for Durable Prints
UV curing is the process of hardening ink using ultraviolet light. Proper curing ensures prints are scratch-resistant, weatherproof, and long-lasting. However, over-curing can cause ink to crack or yellow, while under-curing may result in smudging or poor adhesion.
Adjust curing parameters based on ink type, material thickness, and print speed. For example, flexible materials like vinyl require lower UV intensity to prevent warping, while rigid substrates like metal can tolerate higher settings. Regularly inspect prints for signs of incomplete curing (e.g., tackiness) and adjust the UV lamp intensity or conveyor speed accordingly.
Conclusion: Continuous Improvement and Industry Best Practices
Optimizing print settings for UV flatbed printers is an ongoing process that requires attention to detail and a willingness to experiment. By understanding material compatibility, mastering resolution and dot size, adjusting ink layer thickness, fine-tuning color management, and optimizing curing parameters, operators can achieve superior print quality while minimizing waste and costs.
Stay updated with industry trends and advancements in UV printing technology. Attend workshops, join online forums, and collaborate with peers to share best practices. With practice and patience, you’ll unlock the full potential of your UV flatbed printer and deliver exceptional results for your clients.
By following these guidelines, operators can ensure their UV flatbed printers operate at peak performance, producing vibrant, durable prints that meet the highest standards of quality. Happy printing!
