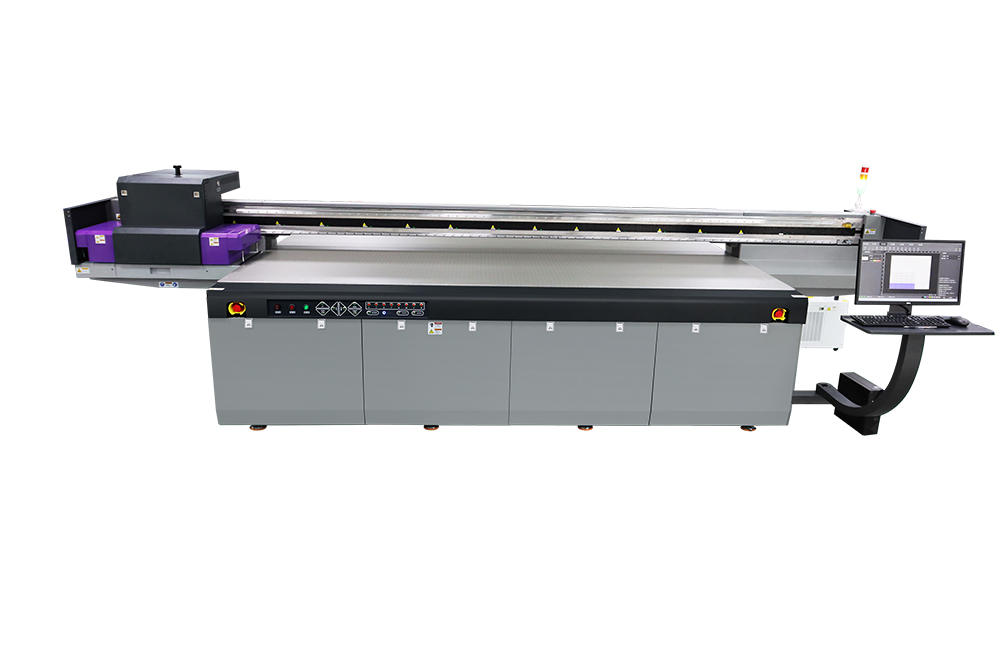
How to Optimize Printer Settings for Faster Drying Times
In today’s fast-paced world, efficiency is key. Whether you’re printing documents for a meeting, creating artwork for an exhibition, or simply producing homework assignments, waiting for ink to dry can be a frustrating delay. Slow drying times can lead to smudging, ruined prints, and wasted time. Fortunately, there are several steps you can take to optimize your printer settings and speed up the drying process. By understanding the factors that influence drying time and making a few adjustments, you can enjoy quicker, smudge-free prints.

1. Understanding the Drying Process
Before diving into the settings, it’s essential to grasp the basics of how ink dries. Most modern printers use either dye-based or pigment-based inks. Dye-based inks tend to dry faster but may be less durable and more prone to fading. Pigment-based inks, on the other hand, offer better longevity and colorfastness but often take longer to dry. The drying time is also influenced by the type of paper you use, the ambient humidity, and the printer’s design.
2. Choosing the Right Paper
The type of paper you use can significantly impact drying times. Absorbent papers, such as matte or uncoated stocks, tend to soak up ink quickly, aiding in faster drying. Glossy or coated papers, while providing vibrant color and sharp detail, can slow down the drying process because the ink sits on the surface longer. If speed is your priority, opt for papers designed for rapid ink absorption. Additionally, consider the paper’s weight; heavier papers often absorb ink more efficiently than lighter ones.
3. Adjusting Printer Settings
Your printer’s settings menu is a treasure trove of options that can help expedite drying times. Here are some key adjustments to consider:
Print Quality: Lowering the print quality from “high” or “photo” to “draft” or “standard” reduces the amount of ink deposited on the paper. Less ink means faster drying times, although at the expense of some image quality. For internal documents or rough drafts, this trade-off is often acceptable.
Ink Drying Mode: Some printers offer a specific drying mode or setting designed to speed up the drying process. This feature might use heated elements within the printer to accelerate evaporation. Check your printer’s manual or settings menu to see if this option is available.
Print Speed: While increasing print speed can sometimes lead to poorer print quality, it also reduces the time ink spends on the paper, aiding in quicker drying. Experiment with different speed settings to find a balance between quality and drying time.
Duplex Printing: If you’re printing double-sided documents, allowing each side to dry fully before printing the next can prevent smudging. Some printers have adjustable settings for duplex drying times.
4. Environmental Considerations
The environment in which your printer operates plays a crucial role in drying times. High humidity can slow down evaporation, prolonging the drying process. Here are some environmental adjustments you can make:
Humidity Control: If possible, place your printer in a room with controlled humidity. Using a dehumidifier can help maintain optimal conditions for fast drying.
Ventilation: Ensure adequate ventilation around your printer. Avoid placing it in enclosed spaces where air circulation is restricted. Good airflow can help speed up the evaporation of ink.
Temperature: Warmer temperatures generally promote faster drying. However, be cautious not to expose your printer to extreme heat, as this can damage the internal components.
5. Maintenance and Upgrades
Regular maintenance and a few upgrades can also contribute to faster drying times:
Cleaning Nozzles: Clogged or dirty printer nozzles can cause ink to be deposited unevenly, leading to longer drying times. Regularly clean your printer’s nozzles following the manufacturer’s instructions.
Upgrading Firmware: Printer manufacturers often release firmware updates that can improve performance, including drying times. Check for and install any available updates.
Using Compatible Inks: While third-party inks may be cheaper, they can sometimes affect drying times and overall print quality. Stick with inks recommended by your printer’s manufacturer for optimal performance.
6. Post-Printing Techniques
Even after making all the necessary adjustments, there are still steps you can take post-printing to speed up drying:
Using a Drying Rack: If you’re printing large volumes or high-quality prints, consider using a drying rack. These racks allow air to circulate around the prints, accelerating the drying process.
Blotting Excess Ink: For very wet prints, gently blotting the surface with a clean, absorbent material can help remove excess ink and speed up drying. Be careful not to smudge the ink.
Fan Assistance: In a pinch, using a handheld fan or positioning a desk fan near your prints can help speed up drying by increasing air circulation.
Optimizing your printer settings for faster drying times is a combination of understanding your printer’s capabilities, making informed choices about paper and ink, adjusting environmental factors, and implementing post-printing techniques. By following these tips, you can reduce waiting times, minimize the risk of smudging, and enjoy more efficient printing. Remember, the key is to find a balance between speed and quality that suits your specific needs. With a bit of experimentation and the right adjustments, you’ll be able to enjoy quicker, hassle-free printing in no time.
