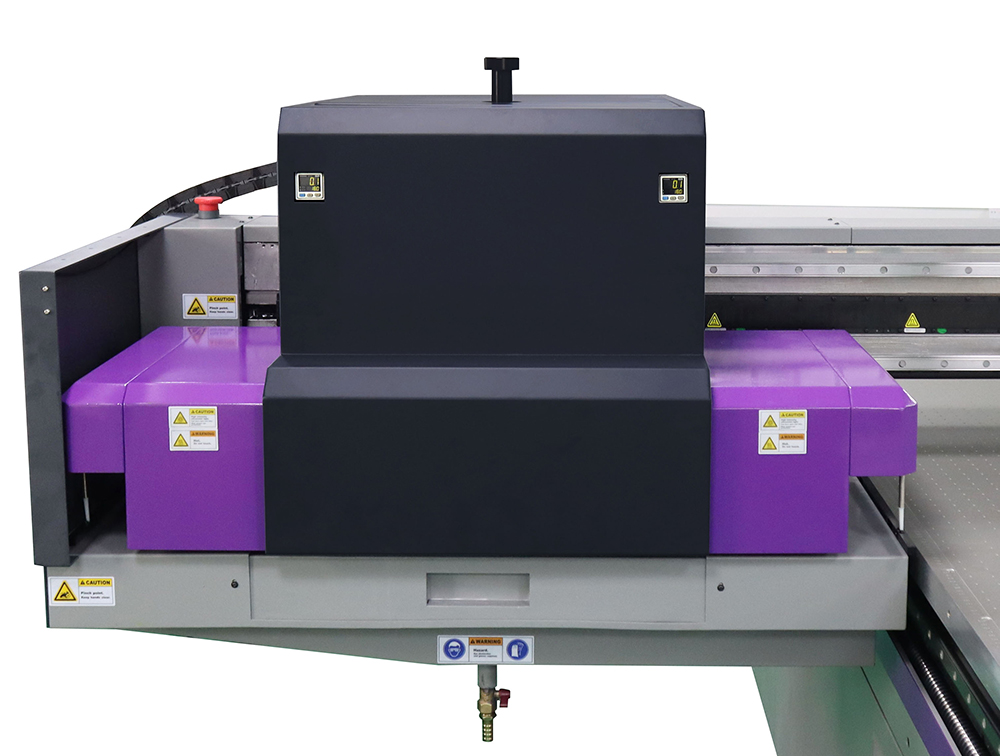
How to Optimize Your UV Flatbed Printer for Speed and Quality?
How to Optimize Your UV Flatbed Printer for Speed and Quality?
UV flatbed printers have revolutionized the printing industry, offering versatility, precision, and the ability to print on a wide range of materials. To stay competitive and meet client demands, it’s crucial to optimize your UV flatbed printer for both speed and quality. This article will guide you through the process, covering key aspects such as printer settings, maintenance, material selection, and workflow optimization.

1. Understanding UV Flatbed Printer Technology
UV flatbed printers use ultraviolet (UV) light to cure ink instantly after it’s applied to the material. This technology allows for precise dot placement, vibrant colors, and quick drying times. The printer’s flatbed design accommodates various substrates, including rigid materials like glass, metal, plastic, and even flexible ones with the use of vacuum tables or adhesive sheets.
2. Printer Settings for Optimal Performance
Optimizing your printer settings is fundamental to achieving the best balance between speed and quality. Here are some key adjustments to consider:
Resolution: Higher resolutions produce sharper images but slow down the printing process. Determine the optimal resolution based on the application. For example, 300 DPI is ideal for fine art prints, while 150 DPI may suffice for promotional materials.
Ink Density: Adjusting ink density can impact both the vibrancy of colors and the drying time. Experiment with different settings to find the right balance. Too much ink can lead to longer curing times and potentially smearing, while too little can result in faded colors.
Print Mode: Many UV flatbed printers offer multiple print modes, such as speed mode and quality mode. Test these modes to see which one best suits your specific job requirements.
Curing Settings: Proper curing is essential for ink adhesion and durability. Adjust the intensity and duration of UV light exposure according to the ink manufacturer’s recommendations and the type of material being printed on.
3. Regular Maintenance for Consistent Results
Consistent maintenance ensures your printer operates at peak performance, minimizing downtime and maximizing print quality. Here are some essential maintenance tasks:
Clean the Print Bed: Regularly clean the print bed to remove any debris or ink residue that could affect print quality.
Check and Replace Filters: UV lamps are equipped with filters that can become clogged with ink particles over time. Replace filters as needed to maintain optimal UV output.
Inspect the Print Head: Keep the print head clean and check for any signs of wear or damage. A clogged or malfunctioning print head can lead to inconsistent ink deposition.
Calibrate the Printer: Periodically calibrate your printer to ensure accurate color reproduction and registration.
4. Material Selection and Preparation
The choice of substrate significantly impacts print quality and speed. Consider the following when selecting materials:
Compatibility: Ensure the material is compatible with UV inks and can withstand the curing process without warping or degrading.
Surface Preparation: Properly prepare the material surface by cleaning it thoroughly to remove dust, oils, and contaminants that could affect ink adhesion.
Flatness and Stability: Use flat, stable materials to ensure consistent print quality. If necessary, use additional supports or adhesive tapes to secure flexible materials.
5. Workflow Optimization
Efficient workflow management can significantly enhance productivity. Here are some strategies to optimize your printing process:
Batch Processing: Organize your print jobs into batches based on material type, size, or ink requirements. This minimizes the need for frequent adjustments and maximizes production efficiency.
Nesting and Gantry Utilization: Optimize the layout of your prints on the print bed to minimize material waste and maximize the number of prints per batch. Additionally, ensure efficient use of the printer’s gantry movement to reduce unnecessary travel time.
Pre-Press Checks: Perform thorough pre-press checks, including color proofing and file verification, to avoid costly reprints due to errors.
Automated Workflows: Invest in software that automates job queuing, color management, and printer setup. This reduces manual input and minimizes the risk of human error.
6. Training and Skill Development
A skilled operator can make a significant difference in optimizing printer performance. Provide ongoing training for your team to ensure they are proficient in:
Printer Operation: Train operators on how to use the printer’s features effectively, including adjusting settings for different jobs.
Troubleshooting: Teach them how to identify and resolve common issues quickly, reducing downtime.
Ink and Material Knowledge: Educate your team on the properties of different inks and materials to make informed decisions during the printing process.
7. Continuous Improvement
Finally, adopt a culture of continuous improvement within your organization. Regularly review your printing processes, seek feedback from your team, and explore new technologies and techniques that can further enhance speed and quality.
Conclusion
Optimizing your UV flatbed printer for speed and quality is an ongoing process that requires attention to detail, regular maintenance, and a commitment to continuous improvement. By fine-tuning your printer settings, selecting the right materials, maintaining your equipment, optimizing your workflow, and investing in your team’s skills, you can ensure that your UV flatbed printer produces exceptional results efficiently. Stay ahead of the competition by embracing these best practices and adapting to new advancements in UV printing technology.
