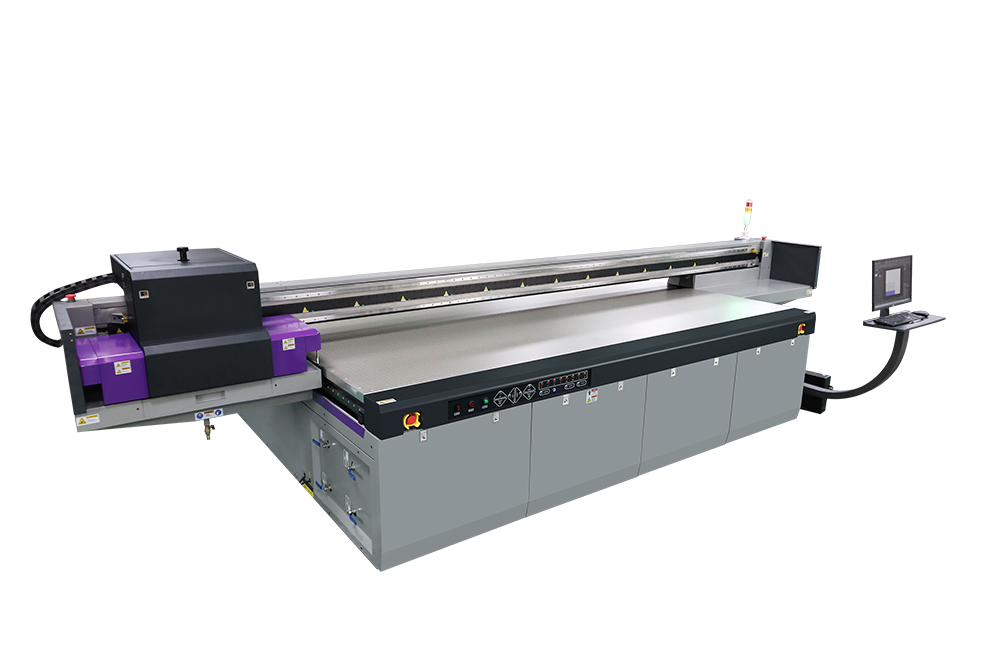
Technical Tips for Printing Large Format Graphics on a UV Flatbed Printer
Technical Tips for Printing Large Format Graphics on a UV Flatbed Printer
Large format UV flatbed printers have revolutionized the way we produce high-quality graphics for various applications, including advertising, signage, and interior decoration. These printers offer versatility, precision, and the ability to print on a wide range of materials, making them a popular choice for businesses and professionals in the graphic arts industry. However, achieving optimal print quality on a UV flatbed printer requires careful consideration of several technical aspects. In this article, we will explore key technical tips for printing large format graphics on a UV flatbed printer, covering pre-press preparation, printer settings, material handling, and post-processing.

1. Pre-Press Preparation
Pre-press preparation is a crucial step in ensuring successful large format UV printing. It involves several key activities, including file preparation, color management, and print testing.
File Preparation
Resolution: Ensure that your design files have a high resolution, ideally at least 300 DPI (dots per inch), to achieve sharp and detailed prints.
File Format: Use print-ready file formats such as PDF or TIFF to maintain image quality and prevent any alterations during the printing process.
Bleed and Crop Marks: Include bleed and crop marks in your design to ensure accurate cutting and finishing.
Color Management
Color Profiling: Use ICC (International Color Consortium) profiles specific to your printer and ink to manage color accurately.
Color Calibration: Regularly calibrate your printer to maintain consistent color output.
Print Testing
Perform test prints on the actual material you will be using for the final print. This helps identify any potential issues, such as ink adhesion or color accuracy, before starting the main print job.
2. Printer Settings
Optimizing printer settings is essential for achieving high-quality prints. Here are some key settings to consider:
Ink Density and Curing
Adjust ink density settings according to the material being printed on. Dense materials may require higher ink density for proper color saturation.
Cure the ink properly by adjusting the UV lamp intensity and speed. Inadequate curing can lead to ink smudging or poor adhesion.
Print Mode and Resolution
Select the appropriate print mode based on the desired print quality and production speed. Higher print modes offer better quality but may reduce printing speed.
Adjust the print resolution according to the design requirements. While higher resolutions provide better detail, they also increase print time and ink consumption.
3. Material Handling
Proper material handling is crucial for achieving consistent print quality and preventing damage to the printer or the material itself.
Material Selection
Choose materials that are compatible with UV inks and your printer’s specifications. Consider factors such as ink adhesion, material thickness, and flexibility.
Test different materials to determine which ones provide the best results for your specific application.
Material Preparation
Ensure that the material surface is clean, dry, and dust-free before printing. Any contaminants can affect ink adhesion and print quality.
If necessary, apply a pre-treatment or primer to enhance ink adhesion, especially for non-porous materials.
Material Loading and Registration
Load the material onto the printer bed carefully, ensuring it is flat and properly aligned. Use registration marks if available to ensure accurate printing.
Secure the material in place to prevent movement during the printing process.
4. Post-Processing
Post-processing steps are essential for finalizing the print and ensuring its durability and appearance.
Curing
After printing, allow the ink to cure fully under UV light. This step is crucial for ensuring ink adhesion and durability.
Follow the printer manufacturer’s recommendations for optimal curing times and UV lamp intensity.
Cutting and Finishing
Use precision cutting tools or equipment to trim the printed material to the desired size and shape.
Apply any necessary finishing treatments, such as lamination or varnishing, to protect the print and enhance its appearance.
Inspection and Quality Control
Inspect the printed material thoroughly for any defects, such as ink bleeding, smudging, or color inconsistencies.
Implement a quality control process to ensure consistent print quality across multiple print jobs.
5. Maintenance and Troubleshooting
Regular maintenance and prompt troubleshooting are essential for keeping your UV flatbed printer in optimal condition and minimizing downtime.
Routine Maintenance
Clean the printer regularly to remove any dust, debris, or ink residue that may accumulate on the print bed, rollers, or UV lamps.
Check and replace worn or damaged parts, such as wiper blades or UV lamp bulbs, as needed.
Troubleshooting
Familiarize yourself with common printer issues and their potential causes. This will help you quickly identify and resolve problems when they occur.
Consult the printer manufacturer’s documentation or technical support for guidance on troubleshooting specific issues.
Conclusion
Printing large format graphics on a UV flatbed printer requires careful attention to detail and an understanding of the technical aspects involved. By following the tips outlined in this article, you can optimize your print quality, improve production efficiency, and produce high-quality graphics that meet the demands of your clients or business. Remember to regularly update your knowledge and skills in UV printing technology, as advancements in this field continue to emerge, enabling even greater capabilities and print quality. With practice and attention to detail, you can master the art of large format UV printing and take your graphic arts projects to new heights.
