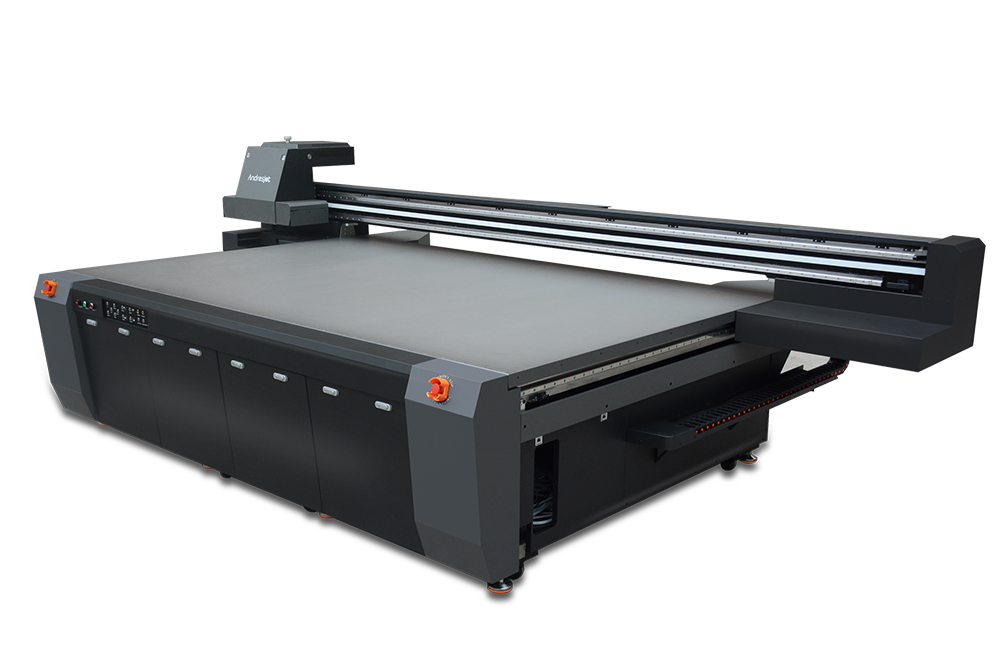
UV Flatbed Printer: The Basics of File Preparation for Printing
When it comes to leveraging the versatility of UV flatbed printers, the success of your prints depends not just on the machine itself but also on how well you prepare your files. Whether you’re printing on rigid materials like acrylic, wood, or metal, or even on flexible substrates, getting your files ready for the printer is a critical step. This blog will guide you through the essentials of file preparation, ensuring your designs come out vibrant, accurate, and exactly as you envisioned. Let’s dive into the basics of file prep so you can get the most out of your UV flatbed printing projects.

Understanding File Formats
The first step in file preparation is selecting the right format. For UV flatbed printing, the most commonly accepted formats are PDF, TIFF, and EPS. These formats preserve vector graphics and high-resolution images, which are crucial for achieving sharp and detailed prints. PDF is often preferred for its versatility and compatibility, while TIFF is ideal for raster images, ensuring they retain their quality without compression artifacts. EPS files are great for vector graphics, offering scalability without loss of detail. Avoid using formats like JPEG or PNG for final print files, as they can lead to quality degradation.
Resolution Matters
Resolution is another vital factor in file preparation. For UV flatbed printing, aim for a resolution of at least 300 DPI (dots per inch) for high-quality prints. This ensures that your images and text appear sharp and clear, especially when viewed up close. Lower resolutions may result in pixelation or blurriness, which can detract from the professional look of your prints. Remember, the higher the resolution, the better the outcome, especially for detailed graphics or small text elements.
Color Mode and Profiles
Color accuracy is crucial in UV flatbed printing. Always work in CMYK mode for full-color prints, as this mode is designed for print production and ensures accurate color reproduction. If you’re working with spot colors or Pantone matching, make sure to communicate with your printer about their color management capabilities. Using the correct color profile for your specific substrate can also make a significant difference in how your prints look. Many printers offer profiles for common materials like acrylic or wood, which can help in achieving consistent and accurate colors.
Bleed and Safety Margins
When setting up your files, don’t forget to include bleed and safety margins. Bleed is the area outside the final trim size that gets printed and then trimmed off to ensure the design reaches the edge of the material without any white borders. Typically, a 1/8-inch bleed on all sides is a good rule of thumb. Safety margins, on the other hand, are areas within the trim size where you avoid placing critical design elements. This is to prevent any minor misalignments during the cutting process from affecting the overall look of your print. A 1/4-inch safety margin is often recommended, especially for text or important graphics.
Font and Text Handling
Text elements in your design need special attention. Always convert text to outlines or curves before submission. This prevents font substitution issues that can arise if the printer doesn’t have the same fonts installed. Additionally, ensure text is at least 6pt in size to guarantee readability, especially when printing on materials with texture or uneven surfaces.
File Setup and Layer Management
When setting up your file, consider the material’s printable area and plan your design accordingly. For instance, if you’re printing on a 4×8-foot panel, ensure your design fits within those dimensions, accounting for any bleed or safety zones. Organize your design elements using layers, clearly labeling each one for easy editing and adjustments. This is particularly helpful if you need to make last-minute changes or if the printer requests modifications.
Post-Processing Considerations
While UV flatbed printing offers durable and vibrant results, post-processing like laminating or mounting can enhance longevity and appearance. Discuss with your printer if such services are available and how they can complement your print job. For outdoor applications, consider a protective laminate to shield the print from UV exposure and weather elements.
Conclusion
Preparing files for UV flatbed printing doesn’t have to be a daunting task. By focusing on file format, resolution, color mode, bleed, safety margins, and text size, you set the stage for prints that impress. Remember, the key to a successful print job lies in the details of your file preparation. With the right setup, your designs will not only look great but will also stand the test of time and outdoor conditions, if applicable. So, the next time you’re ready to print on a UV flatbed printer, take a moment to review your file setup—it could make all the difference between a good print and a great one. Start with the basics covered here, and you’ll be well on your way to achieving professional-grade prints with your UV flatbed printer.
