UV Flatbed Printer: The Best Practices for Printing on Glass
Printing on glass using a UV flatbed printer offers a unique way to create visually stunning and durable graphics. Glass, with its smooth and non-absorbent surface, presents both opportunities and challenges for printers. To achieve optimal results, it’s crucial to follow best practices that ensure high-quality prints, adhesion, and longevity. In this comprehensive guide, we will delve into the intricacies of printing on glass with a UV flatbed printer, covering preparation, printing techniques, post-processing, and troubleshooting tips.
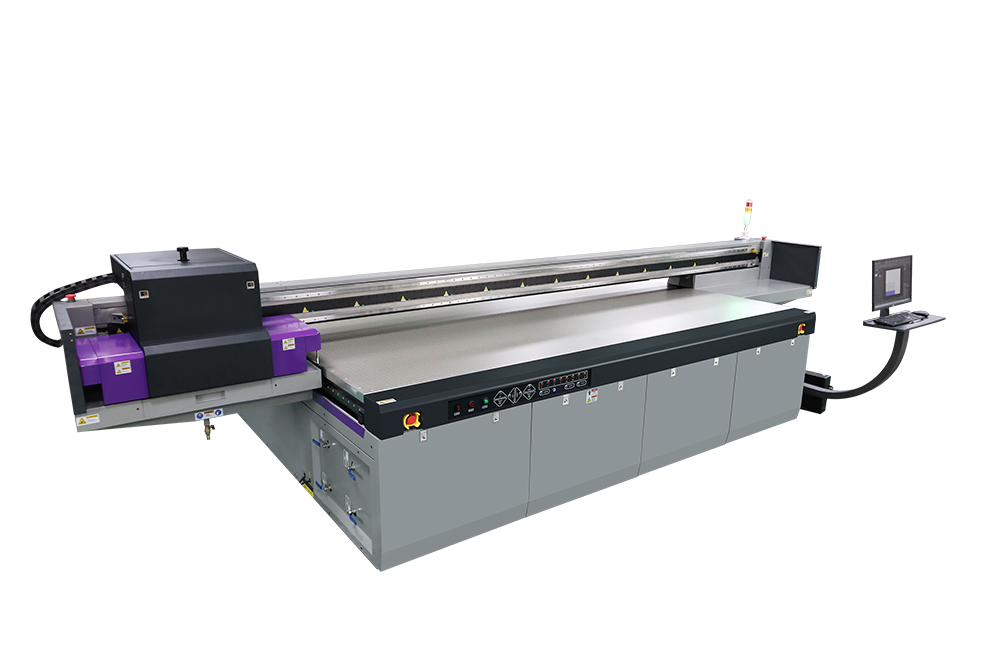
Understanding UV Flatbed Printers
UV flatbed printers utilize ultraviolet light to cure inks instantly upon contact with the substrate. This technology allows for precise, high-resolution printing on a wide range of materials, including glass. The inks used in UV printing are specially formulated to adhere to various surfaces and to cure rapidly when exposed to UV light. This process ensures that the prints are durable, scratch-resistant, and fade-resistant.
Preparing the Glass Surface
Before printing, proper preparation of the glass surface is paramount. The success of the print largely depends on how well the glass is cleaned and prepared.
Cleaning the Glass:
Start by thoroughly cleaning the glass surface to remove any dirt, dust, oils, or contaminants.
Use a mild detergent or a specific glass cleaner and a soft, lint-free cloth to avoid scratching the surface.
Rinse the glass with clean water and dry it using a lint-free cloth or air dry it to avoid water spots.
Ensure the glass is completely dry before proceeding to the next step.
Priming the Surface (if necessary):
Depending on the type of glass and the ink used, a primer may be required to enhance adhesion.
Apply the primer evenly using a brush or a spray gun, following the manufacturer’s instructions.
Allow the primer to dry completely before printing. This step may involve curing the primer under UV light if specified.
Handling and Positioning:
Handle the glass with care to avoid fingerprints and contamination.
Position the glass on the printer’s flatbed securely to prevent movement during printing.
Use tape or clamps if necessary to ensure the glass remains stable.
Printing Techniques
Achieving high-quality prints on glass requires careful adjustment of the printer settings and ink application.
Choosing the Right Ink:
Select UV-curable inks that are specifically designed for printing on glass.
Consider the desired finish (glossy, matte, etc.) and the required durability.
Printer Settings:
Adjust the printer’s resolution to match the detail required in your design. Higher resolutions will produce sharper images but may require longer printing times.
Set the correct print speed. While faster speeds can increase productivity, they may compromise print quality.
Calibrate the printer regularly to ensure accurate color reproduction and ink deposition.
Layering and Curing:
For best results, apply multiple thin layers of ink rather than a single thick layer. This approach enhances adhesion and reduces the risk of cracking or peeling.
After each layer, cure the ink under the UV lamp according to the manufacturer’s recommendations. This step ensures that each layer is fully set before the next one is applied.
Testing:
Always perform a test print on a sample piece of glass before proceeding with the final print.
Evaluate the test print for color accuracy, adhesion, and overall quality.
Make any necessary adjustments to the printer settings or ink application based on the test results.
Post-Processing
Once the printing is complete, post-processing steps are essential to ensure the longevity and quality of the print.
Final Curing:
After the final layer of ink is applied, perform a final cure under the UV lamp to ensure complete polymerization of the ink.
Follow the manufacturer’s guidelines for the duration and intensity of the final cure.
Cleaning and Inspection:
Carefully remove any excess ink or debris from the glass surface using a soft cloth or a gentle cleaning solution.
Inspect the print for any defects, such as bubbles, cracks, or areas of poor adhesion.
Address any issues immediately, as they may be more difficult to correct once the ink has fully cured.
Protective Coating (optional):
For added durability and protection against scratches and fading, consider applying a clear protective coating over the print.
Choose a coating that is compatible with UV-curable inks and follow the manufacturer’s application instructions.
Troubleshooting Tips
Even with the best preparations, issues can arise during the printing process. Here are some common problems and their solutions:
Poor Adhesion:
Ensure the glass surface is thoroughly cleaned and free of contaminants.
Check if a primer is required for the type of glass being used.
Adjust the printer settings to ensure proper ink deposition.
Ink Smearing or Bleeding:
Make sure the ink is fully cured after each layer before applying the next one.
Check for any movement of the glass during printing and secure it more firmly if necessary.
Adjust the printer’s ink application settings to reduce the amount of ink being deposited.
Color Inconsistency:
Calibrate the printer regularly to maintain accurate color reproduction.
Check the ink levels and replace any low or expired ink cartridges.
Ensure the printer’s environment is consistent in terms of temperature and humidity, as these factors can affect color output.
Cracking or Peeling:
Avoid applying too much ink in a single layer. Use multiple thin layers instead.
Ensure the glass is compatible with the type of ink being used.
Allow each layer to fully cure before applying the next one.
Printing on glass with a UV flatbed printer offers endless possibilities for creativity and innovation. By following the best practices outlined in this guide, you can achieve high-quality, durable prints that showcase your designs in a unique and eye-catching way. Remember, proper preparation, careful printing techniques, and thorough post-processing are key to successful glass printing. With practice and experience, you’ll be able to overcome any challenges and produce stunning glass prints that meet your clients’ expectations and stand the test of time.
As you continue to explore the world of UV flatbed printing on glass, don’t hesitate to experiment with different inks, primers, and techniques to find the combination that works best for your specific needs. Stay updated with the latest advancements in UV printing technology and keep refining your skills to stay ahead in this ever-evolving industry.