UV Flatbed Printer: The Ultimate Guide to Troubleshooting
UV flatbed printers have revolutionized the printing industry with their ability to produce high-quality, durable prints on a wide range of materials. From rigid substrates like glass and metal to flexible materials such as fabric and leather, these versatile machines have become a staple in many print shops and manufacturing facilities. However, like any sophisticated piece of equipment, UV flatbed printers can encounter issues that may disrupt their operation. This ultimate guide aims to provide comprehensive troubleshooting tips to help you resolve common problems and maintain optimal printer performance.
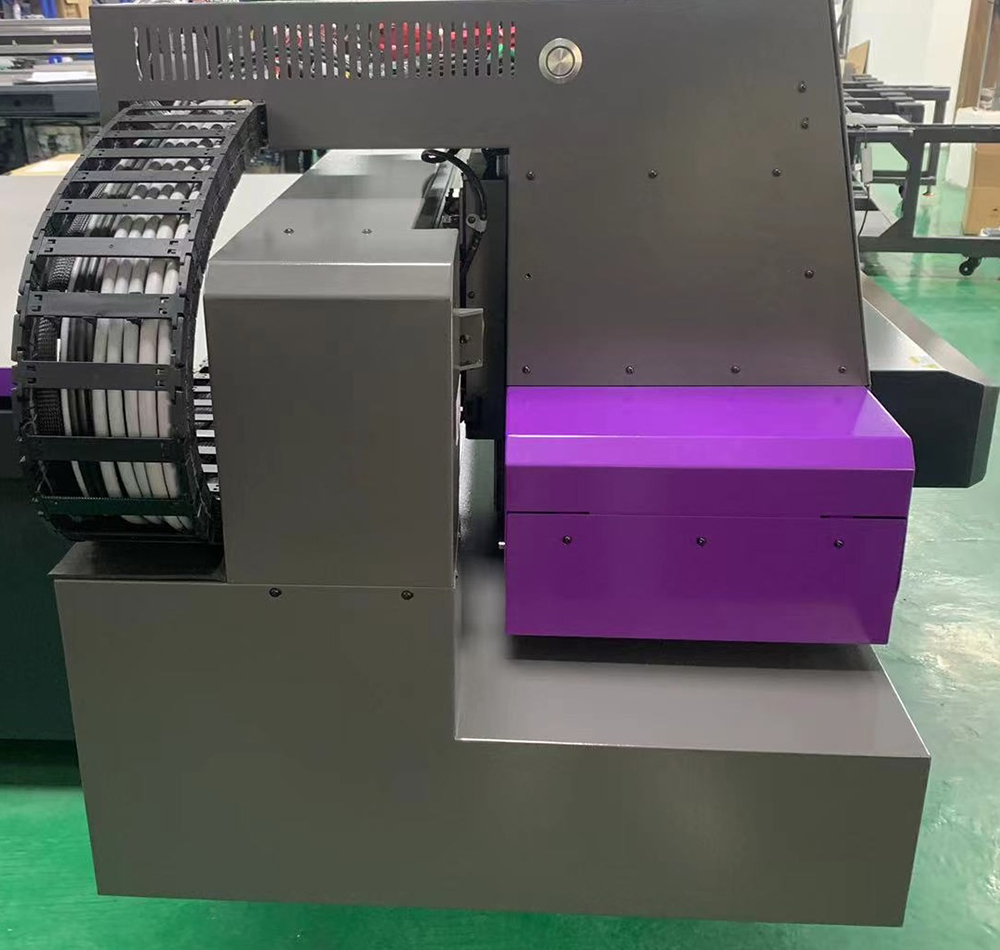
Understanding the Basics of UV Flatbed Printers
Before diving into troubleshooting, it’s essential to have a basic understanding of how UV flatbed printers work. These printers utilize ultraviolet (UV) light to cure inks almost instantly as they are deposited onto the substrate. This process ensures high precision, vibrant colors, and excellent durability. The key components include the print heads, UV lamps, ink supply system, and control software.
Common Issues and Troubleshooting Steps
1. Print Quality Problems
Symptom: Fuzzy or blurred prints, banding, or color inconsistencies.
Possible Causes:
Clogged or misaligned print heads.
Incorrect print head height.
Inadequate ink flow.
Outdated or incorrect printer driver settings.
Troubleshooting Steps:
Clean the Print Heads: Use the printer’s built-in cleaning function or manually clean the heads with a suitable cleaning solution and soft cloth.
Check Print Head Alignment: Run the print head alignment utility in the printer’s software.
Adjust Print Head Height: Ensure the print heads are at the correct distance from the substrate. Refer to the manufacturer’s guidelines for the recommended height.
Inspect Ink Flow: Check the ink lines and cartridges for any blockages or leaks. Replace any faulty components.
Update Printer Drivers: Ensure you have the latest driver version installed. Outdated drivers can cause compatibility issues.
2. UV Lamp Issues
Symptom: Incomplete curing, resulting in smudging or tacky prints.
Possible Causes:
Faulty UV lamp.
Lamp not reaching full power.
Incorrect lamp settings.
Troubleshooting Steps:
Check Lamp Functionality: Inspect the UV lamp for any visible damage or signs of wear. Replace if necessary.
Verify Lamp Power: Use a multimeter to check if the lamp is receiving the correct voltage and current.
Adjust Lamp Settings: Ensure the lamp’s intensity and exposure time are set according to the manufacturer’s recommendations for the specific ink and substrate being used.
3. Ink System Malfunctions
Symptom: Ink not dispensing properly, leading to streaky prints or no ink output.
Possible Causes:
Air bubbles in the ink lines.
Clogged ink filters.
Empty or nearly empty ink cartridges.
Troubleshooting Steps:
Prime the Ink System: Run the printer’s priming function to remove air bubbles and ensure ink flow.
Clean or Replace Ink Filters: Check the ink filters for clogs and clean or replace them as needed.
Check Ink Levels: Inspect the ink cartridges and replace any that are empty or low.
4. Software and Connectivity Issues
Symptom: Printer not responding to commands, error messages on the control panel.
Possible Causes:
Faulty USB or network connection.
Corrupted printer firmware.
Software conflicts.
Troubleshooting Steps:
Check Connections: Ensure all cables are securely connected and not damaged. For network connections, verify the printer’s IP address and network settings.
Update Firmware: Download and install the latest firmware from the manufacturer’s website.
Reinstall Printer Software: Uninstall the printer software and reinstall it to resolve any potential software conflicts.
5. Mechanical Problems
Symptom: Unusual noises, jams, or parts not moving correctly.
Possible Causes:
Worn or damaged mechanical parts.
Misaligned or loose components.
Lubrication issues.
Troubleshooting Steps:
Inspect Mechanical Parts: Check for any visible damage or wear on belts, gears, and bearings. Replace any faulty parts.
Check Alignment and Tightness: Ensure all components are properly aligned and tightened.
Lubricate Moving Parts: Apply lubricant to any moving parts as recommended by the manufacturer to reduce friction and wear.
Preventive Maintenance Tips
To minimize the likelihood of encountering issues with your UV flatbed printer, follow these preventive maintenance tips:
Regular Cleaning: Keep the printer clean by regularly wiping down the exterior and interior surfaces. Pay special attention to the print heads and ink system.
Scheduled Maintenance: Perform routine maintenance tasks such as cleaning the print heads, inspecting the UV lamp, and checking ink levels according to the manufacturer’s recommendations.
Environmental Controls: Maintain a stable and suitable environment for the printer, including temperature and humidity levels, to prevent issues related to ink viscosity and mechanical performance.
Operator Training: Ensure that all operators are familiar with the printer’s operation and troubleshooting procedures to quickly address any issues that may arise.
Conclusion
UV flatbed printers are powerful tools that can significantly enhance your printing capabilities. However, like any complex machinery, they are susceptible to various issues that can affect their performance. By following the troubleshooting steps outlined in this guide and implementing preventive maintenance practices, you can keep your UV flatbed printer running smoothly and efficiently.
Remember, the key to successful troubleshooting is a systematic approach. Start with the most obvious potential causes and work your way through the possible solutions. If you encounter a problem that you cannot resolve, don’t hesitate to consult the printer’s manual or contact the manufacturer’s technical support team for assistance. With proper care and maintenance, your UV flatbed printer can continue to produce high-quality prints for years to come.