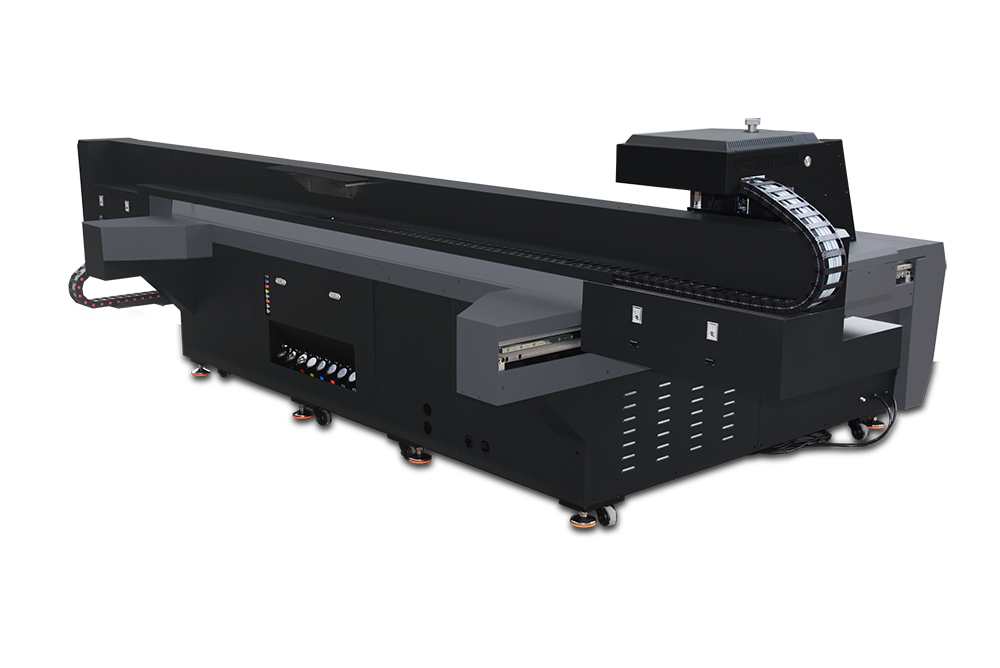
UV Flatbed Printer: Tips for Printing on Difficult Materials
UV Flatbed Printer: Tips for Printing on Difficult Materials
UV flatbed printers have revolutionized the printing industry, offering versatility and precision that traditional printing methods often lack. These machines are capable of printing on a wide range of materials, including those that are considered difficult to print on. However, achieving high-quality prints on such materials requires careful consideration of several factors, including pre-treatment, ink selection, and print settings. In this article, we will explore some valuable tips for successfully printing on difficult materials using a UV flatbed printer.

1. Understanding Difficult Materials
Before diving into the tips, it’s essential to understand what constitutes a “difficult” material in the context of UV flatbed printing. Difficult materials typically have one or more of the following characteristics:
Non-porous surface: Materials like glass, metal, or certain types of plastic have non-porous surfaces that do not absorb ink easily.
Uneven texture: Materials with rough or irregular surfaces, such as wood or leather, can make it challenging to achieve a uniform print.
Sensitivity to heat: Some materials, like certain plastics, can warp or melt when exposed to the heat generated during the UV curing process.
Chemical reactivity: Materials that react with ink components can cause print quality issues, such as blotching or discoloration.
2. Pre-Treatment: The Key to Success
Pre-treatment is often the most crucial step in achieving successful prints on difficult materials. It involves preparing the surface of the material to ensure proper ink adhesion and cure. Here are some pre-treatment techniques:
Cleaning: Thoroughly clean the material to remove any dirt, dust, or oils that could interfere with ink adhesion.
Priming: Apply a special primer designed for UV inks to improve ink adhesion. Primers create a chemical bond between the ink and the material, enhancing print durability.
Sanding or Abrading: For materials with rough or uneven surfaces, lightly sanding or abrading can create a more uniform surface for printing.
Plasma Treatment: This process uses ionized gas to modify the surface of the material, improving ink adhesion without adding any physical layer.
3. Ink Selection Matters
Choosing the right ink is vital when printing on difficult materials. UV inks are formulated to cure instantly under UV light, making them ideal for a wide range of applications. However, not all UV inks are created equal. Consider the following when selecting ink:
Ink Compatibility: Ensure that the ink is compatible with the material you’re printing on. Some inks are specifically designed for use on non-porous surfaces, while others work best on flexible materials.
Durability: Look for inks that offer excellent durability, especially if the printed material will be subject to wear and tear.
Color Gamut: Choose inks with a wide color gamut to achieve accurate and vibrant prints.
4. Adjusting Print Settings
Fine-tuning your print settings can significantly impact the quality of prints on difficult materials. Here are some adjustments to consider:
Ink Thickness: Increase ink thickness for better coverage on non-porous surfaces. However, be cautious not to overdo it, as this can lead to ink pooling or bleeding.
Curing Temperature: Adjust the UV curing temperature according to the material’s heat sensitivity. Lower temperatures may be necessary to prevent warping or melting.
Print Speed: Slowing down the print speed can help achieve better ink adhesion and cure, especially on uneven surfaces.
Print Resolution: Depending on the material and the desired print quality, you may need to adjust the print resolution. Higher resolutions are generally recommended for detailed prints.
5. Testing and Sampling
Before proceeding with a full-scale print job, it’s crucial to conduct thorough testing and sampling. This step allows you to:
Evaluate Ink Adhesion: Test the ink’s adhesion to the material by performing adhesion tests, such as tape tests or cross-hatch tests.
Assess Durability: Subject the printed samples to conditions similar to those the final product will encounter, such as exposure to sunlight or chemicals, to evaluate print durability.
Fine-Tune Settings: Use the test results to fine-tune your print settings, ink selection, and pre-treatment process.
6. Post-Printing Considerations
Even after the printing process is complete, there are a few post-printing considerations to ensure the longevity of your prints:
Proper Handling: Handle the printed materials with care to avoid scratching or damaging the print surface.
Curing Completion: Ensure that the ink is fully cured before subjecting the material to any stress or harsh conditions.
Storage Conditions: Store the printed materials in a cool, dry place to prevent fading or deterioration.
Conclusion
Printing on difficult materials with a UV flatbed printer can be a challenging task, but with the right techniques and considerations, it’s entirely achievable. By understanding the characteristics of difficult materials, implementing effective pre-treatment methods, selecting the appropriate ink, adjusting print settings, conducting thorough testing, and considering post-printing factors, you can successfully print on even the most challenging surfaces. With these tips in mind, you can unlock the full potential of your UV flatbed printer and expand your printing capabilities to new horizons.
