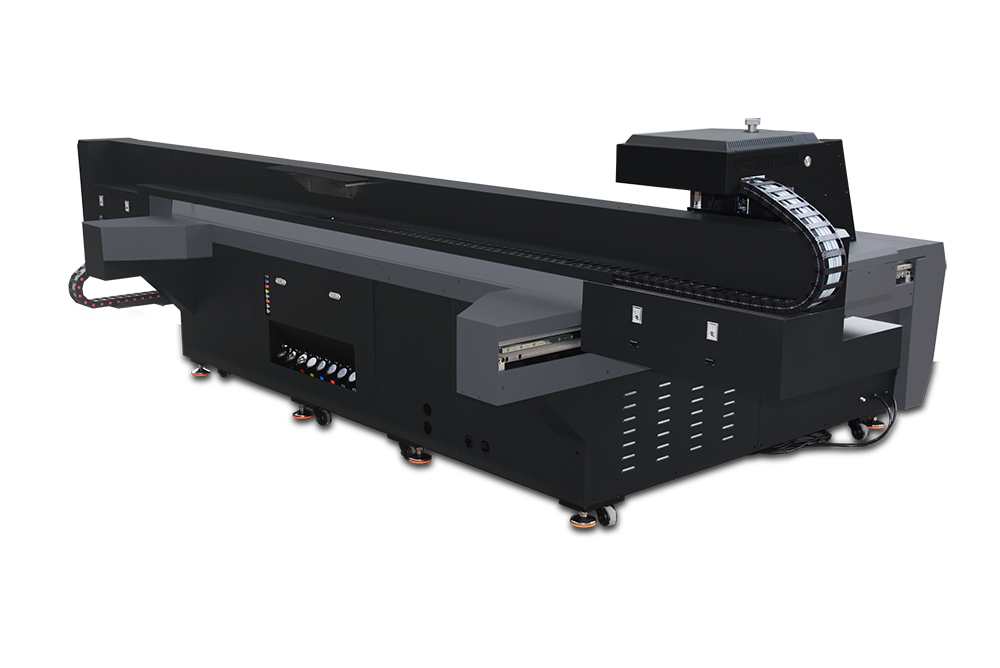
UV Flatbed Printer: Tips for Printing on Glass and Ceramic
You’ve likely seen vibrant designs on glassware, ceramic tiles, or decorative mugs and wondered how they’re created. The answer? UV flatbed printers! These machines use ultraviolet light to instantly cure ink, allowing for stunning, durable prints on non-porous surfaces like glass and ceramic. Whether you’re a small business owner, a DIY enthusiast, or just curious about the process, this guide will walk you through everything you need to know to achieve professional-quality results. Let’s dive in!
Understanding UV Printing Technology
Before we get into the nitty-gritty of printing on glass and ceramic, it’s important to grasp how UV flatbed printers work. Unlike traditional printers, which rely on heat or evaporation to dry ink, UV printers use ultraviolet light to instantly cure (harden) the ink upon contact with the surface. This means the ink adheres immediately, creating sharp, detailed prints that resist smudging or fading.
Why does this matter for glass and ceramic? These materials are non-porous, meaning they don’t absorb ink like paper or fabric. UV ink’s ability to bond directly to the surface ensures long-lasting, high-resolution results—perfect for everything from personalized mugs to wall art.
Prepping Your Surface: The Foundation of Success
The first step to flawless prints is surface preparation. Even the most advanced printer can’t compensate for a poorly prepped substrate. For glass and ceramic, follow these steps:
Clean Thoroughly: Start by wiping the surface with isopropyl alcohol (70% or higher) to remove dust, oils, or fingerprints. Avoid using water-based cleaners, as they can leave residues that interfere with ink adhesion.
Sand Lightly (Optional): If printing on particularly smooth glass, consider lightly sanding the surface with fine-grit sandpaper (e.g., 400-600 grit). This creates tiny scratches that help the ink grip better. Be gentle—you don’t want to scratch the material!
Prime if Needed: Some printers require a primer coat for certain substrates. Check your printer’s manual or consult a supplier to see if this step applies to your setup.
Remember, the cleaner and smoother your surface, the better your print will look. Skipping this step is a common mistake that leads to ink flaking or poor adhesion.
Choosing the Right Ink and Settings
Not all UV inks are created equal. For glass and ceramic, look for inks labeled as “hard surface” or “non-porous.” These formulas are specifically designed to bond with slick surfaces and withstand wear and tear. Here’s what to keep in mind:
Ink Type: Opt for inks with high flexibility and scratch resistance. Some inks may require a UV post-curing process (using a separate UV lamp) to fully harden.
Printer Settings: Always calibrate your printer before starting a job. Adjust parameters like print speed, ink density, and UV light intensity based on the material thickness and desired finish. Experiment with a test print first to avoid wasting materials.
Pro tip: Store your inks in a cool, dark place to prevent premature curing or clumping.
Design Tips: Maximizing Impact
Now that your surface is ready and your ink is chosen, it’s time to focus on design. Here’s how to make your prints pop:
Use High-Resolution Images: Ensure your artwork is at least 300 DPI (dots per inch) for sharp, detailed prints. Vector graphics (like SVG files) are ideal for logos or text, as they scale without losing quality.
Consider White Ink: If printing on dark glass or ceramic, add a white underlayer to make colors appear vibrant. Most UV printers support this feature, which acts as a base coat beneath your design.
Experiment with Textures: UV inks can create raised, 3D effects by applying multiple layers. Try adding texture to elements like logos or borders for a tactile, premium look.
Don’t be afraid to get creative! The beauty of UV printing is its versatility—from photo-realistic images to abstract patterns, the possibilities are endless.
Post-Printing: Finishing Touches
Once your print is complete, a few extra steps can elevate its durability and appearance:
UV Curing: If your printer doesn’t fully cure the ink during printing, use a UV lamp to harden the design. Follow the manufacturer’s guidelines for exposure time—usually 30-60 seconds per side.
Clean Excess Ink: After curing, gently wipe the surface with a lint-free cloth to remove any ink residue or “blooming” (a slight haze that can occur around the print).
Add a Protective Coating (Optional): For high-traffic items like mugs or tiles, apply a clear, food-safe sealant to prevent scratching or fading.
Troubleshooting Common Issues
Even seasoned printers encounter hiccups. Here’s how to tackle common problems:
Ink Adhesion Issues: Check for surface contamination or inadequate UV exposure. Re-clean the substrate and ensure the ink is fully cured.
Banding or Streaking: This could indicate a clogged printhead or misaligned nozzles. Run a printer maintenance cycle or consult your manual for cleaning instructions.
Color Inconsistency: Verify your color profiles match the substrate. Calibrate your monitor and printer regularly to avoid mismatches.
Expanding Your Horizons: Beyond Glass and Ceramic
Once you’ve mastered these materials, don’t stop there! UV flatbed printers can print on a wide range of substrates, including acrylic, metal, wood, and even fabric. Experiment with different textures and finishes to create unique products for your business or personal projects.
Conclusion
Printing on glass and ceramic with a UV flatbed printer is a rewarding process that combines technology and creativity. By following these tips—from surface prep to post-printing care—you’ll achieve stunning, durable results that stand the test of time. Whether you’re launching a new product line or crafting personalized gifts, remember that patience and attention to detail are your best allies.