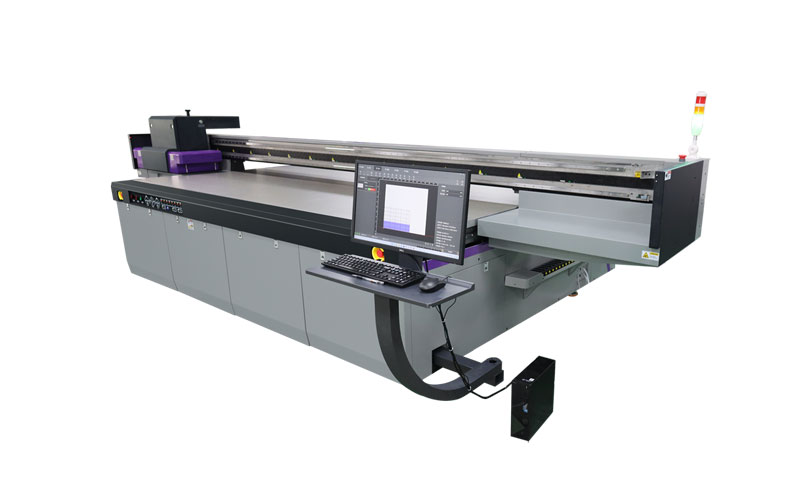
UV Flatbed Printer: Troubleshooting Common Feeding Problems
UV Flatbed Printer: Troubleshooting Common Feeding Problems
UV flatbed printers have revolutionized the printing industry, offering unparalleled versatility and precision in producing high-quality prints on various materials. These printers use ultraviolet (UV) light to cure ink instantly, resulting in durable and vibrant prints. However, like any complex machinery, UV flatbed printers can encounter feeding problems that disrupt the printing process. This article delves into the common feeding issues in UV flatbed printers and provides troubleshooting steps to overcome them.

Understanding the Feeding Mechanism
Before troubleshooting feeding problems, it’s essential to understand how the feeding mechanism works in a UV flatbed printer. The feeding system is responsible for transporting the media (such as acrylic, glass, wood, or fabric) through the printer smoothly and accurately. It typically consists of rollers, sensors, belts, and motors that work in unison to ensure precise media handling.
Common Feeding Problems
Media Skewing or Shifting
Media skewing refers to the misalignment of the media as it moves through the printer. This can result in skewed prints or even jamming. Skewing often occurs due to improper media loading, uneven tension from the rollers, or worn-out guide rails.
Media Jamming
Jamming is a common issue where the media stops moving through the printer, causing the print job to halt. Jamming can be caused by debris accumulation, overtightened rollers, or incorrect media thickness settings.
Inconsistent Feeding Speed
Inconsistent feeding speed can lead to banding or streaking in the print output. This issue might arise from motor malfunctions, roller wear, or sensor inaccuracies.
Feeding Errors and Sensor Issues
Sensors play a crucial role in detecting the media’s position and movement. If a sensor fails or becomes dirty, it can cause feeding errors, including false detections of media presence or absence.
Troubleshooting Steps
Media Skewing or Shifting
Check Media Loading: Ensure that the media is loaded correctly and centered on the printer’s platform. Improper loading can cause skewing from the start.
Inspect Rollers and Guide Rails: Examine the rollers and guide rails for any signs of wear or damage. Replace worn components to maintain even tension and alignment.
Adjust Tension Settings: If the printer allows, adjust the tension settings of the rollers to ensure uniform gripping across the media’s width.
Media Jamming
Clean the Printer Path: Regularly clean the printer’s feeding path to remove any debris or dust that might accumulate and cause jamming.
Check Roller Tightness: Overtightened rollers can increase the risk of jamming. Adjust the roller tension according to the manufacturer’s recommendations for the specific media type.
Verify Media Thickness Settings: Ensure that the printer’s settings match the thickness of the media being used. Incorrect settings can lead to jamming.
Inconsistent Feeding Speed
Inspect Motors and Drivers: Check the printer’s motors and drivers for any signs of malfunction. Replace faulty components as necessary.
Examine Rollers for Wear: Worn rollers can cause inconsistent feeding speed. Replace worn rollers to maintain a smooth and even feeding process.
Calibrate Sensors: If the printer uses sensors to control feeding speed, ensure they are calibrated correctly. Follow the manufacturer’s guidelines for sensor calibration.
Feeding Errors and Sensor Issues
Clean Sensors: Dirty sensors can cause false readings, leading to feeding errors. Clean the sensors using a soft, lint-free cloth and mild cleaning solution.
Check Sensor Alignment: Ensure that sensors are aligned correctly according to the manufacturer’s specifications. Misaligned sensors can cause inaccurate readings.
Replace Faulty Sensors: If cleaning and alignment do not resolve the issue, the sensor might be faulty. Replace the sensor with a new one according to the manufacturer’s recommendations.
Preventive Measures
Preventing feeding problems is often more cost-effective than troubleshooting them. Here are some preventive measures to minimize feeding issues in UV flatbed printers:
Regular Maintenance: Schedule regular maintenance checks to inspect and clean the printer, including the feeding system. This helps identify potential issues before they escalate.
Proper Media Handling: Always handle media carefully to avoid damage that could lead to feeding problems. Store media in a clean, dust-free environment.
Use Recommended Media: Stick to media types recommended by the printer manufacturer. Using unsupported media can increase the risk of feeding issues.
Operator Training: Ensure that operators are trained on proper media loading, printer settings, and basic troubleshooting steps. Well-trained operators can identify and address issues promptly.
Conclusion
Feeding problems in UV flatbed printers can disrupt production and compromise print quality. By understanding the feeding mechanism and following the troubleshooting steps outlined in this article, you can effectively address common feeding issues. Regular maintenance and preventive measures can further minimize the risk of feeding problems, ensuring smooth and efficient printing operations. Remember, when in doubt, consult the printer’s manual or contact the manufacturer’s technical support for guidance. With proper care and attention, your UV flatbed printer can deliver exceptional prints consistently.
