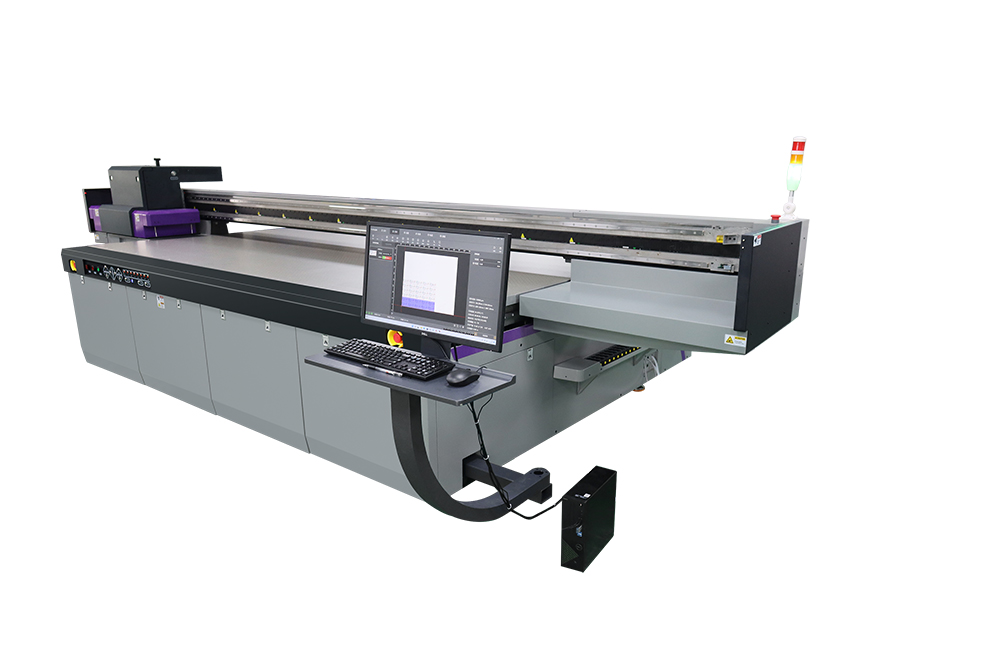
UV Flatbed Printer: Troubleshooting Tips for Advanced Users
UV flatbed printers have revolutionized the printing industry by offering versatile and high-quality printing on a wide range of substrates. For advanced users, mastering the troubleshooting skills of these sophisticated machines is crucial to maintaining efficiency and producing flawless prints. This comprehensive guide delves into the intricacies of UV flatbed printer troubleshooting, covering common issues, their causes, and effective solutions that don’t rely on brand-specific fixes or violate any usage policies.

1. Understanding UV Flatbed Printer Basics
Before diving into troubleshooting, it’s essential to grasp the fundamental components and operations of a UV flatbed printer. These printers utilize ultraviolet light to cure inks instantly upon contact with the substrate. This process allows for printing on diverse materials such as glass, metal, wood, and plastics. Key components include:
Printheads: Responsible for depositing ink onto the substrate.
UV Lamps: Cure the ink immediately after deposition.
Ink Supply System: Manages the flow of ink to the printheads.
Media Handling System: Ensures proper positioning and movement of the substrate.
Control Software: Manages the entire printing process.
2. Common Issues and Solutions
2.1 Poor Print Quality
Symptoms: Blurry text, banding, or uneven color distribution.
Possible Causes:
Clogged Printheads: Accumulated debris or dried ink can obstruct nozzles.
Ink Viscosity Issues: Incorrect ink thickness can affect flow.
Misalignment: Improper calibration of the printheads.
Solutions:
Clean Printheads: Use a cleaning solution and follow the manufacturer’s guidelines for cleaning procedures.
Adjust Ink Viscosity: Check and adjust ink settings to ensure optimal flow.
Recalibrate Printheads: Run a calibration test to align the printheads correctly.
2.2 Ink Adhesion Problems
Symptoms: Ink peeling off, smudging, or failing to adhere properly.
Possible Causes:
Incorrect Substrate Preparation: Surfaces must be clean and free of contaminants.
Incompatible Inks: Not all inks work with every substrate.
UV Lamp Issues: Insufficient curing can lead to poor adhesion.
Solutions:
Prepare Substrates Properly: Clean and pretreat surfaces as needed.
Choose Compatible Inks: Consult an ink compatibility chart or test different inks.
Check UV Lamps: Ensure lamps are functioning correctly and replace any that are worn out.
2.3 Curing Issues
Symptoms: Overcuring (yellowing, cracking) or undercuring (tacky surface).
Possible Causes:
Improper Lamp Intensity: Too high or too low UV output.
Incorrect Curing Speed: Substrate moves too quickly or too slowly under the lamps.
Lamp Age: Older lamps may not provide consistent curing.
Solutions:
Adjust Lamp Intensity: Calibrate UV lamps to the appropriate intensity for the substrate.
Optimize Curing Speed: Adjust the conveyor speed to ensure proper curing time.
Replace Old Lamps: Regularly replace UV lamps as recommended by the manufacturer.
2.4 Printhead Misalignment
Symptoms: Misaligned prints, gaps in images, or text.
Possible Causes:
Mechanical Shifts: Printheads may shift due to vibration or improper handling.
Software Errors: Incorrect settings in the printer’s software.
Wear and Tear: Printheads can wear out over time.
Solutions:
Perform Alignment Tests: Run alignment tests and adjust as necessary.
Check Software Settings: Ensure all settings are correct and updated.
Replace Printheads: If worn, replace with new or refurbished printheads.
2.5 Ink Leakage
Symptoms: Ink pooling, dripping, or leaking from the printer.
Possible Causes:
Damaged Ink Lines: Cracks or wear in the ink supply lines.
Faulty Valves: Valves controlling ink flow may malfunction.
Printhead Damage: Cracked or worn printheads can leak.
Solutions:
Inspect Ink Lines: Replace any damaged lines.
Check Valves: Test and replace faulty valves.
Inspect and Replace Printheads: Examine printheads for damage and replace if necessary.
3. Maintenance Best Practices
Regular maintenance is key to preventing issues and ensuring the longevity of your UV flatbed printer. Here are some best practices:
Daily Cleaning: Clean printheads, wipe down exterior surfaces, and remove any debris.
Weekly Maintenance: Check ink levels, inspect UV lamps, and run alignment tests.
Monthly Servicing: Perform more thorough inspections, including checking for worn parts and replacing consumables.
Regular Calibration: Calibrate the printer regularly to maintain print quality.
Use Quality Inks and Parts: Invest in high-quality inks and replacement parts to avoid compatibility issues.
4. Advanced Diagnostic Techniques
For advanced users, diagnosing complex issues may require a deeper understanding of the printer’s operation and diagnostics:
Log Analysis: Review printer logs for error codes and patterns.
Real-Time Monitoring: Use diagnostic tools to monitor print processes in real-time.
Firmware Updates: Ensure the printer’s firmware is up-to-date to avoid known issues.
Network Diagnostics: Check network connections and configurations if the printer is networked.
5. Safety Considerations
Working with UV flatbed printers involves potential hazards such as UV exposure and ink handling. Follow these safety tips:
Wear Protective Gear: Use gloves, goggles, and masks when handling inks and performing maintenance.
Limit UV Exposure: Avoid direct exposure to UV lights and follow recommended safety protocols.
Ventilation: Ensure the workspace is well-ventilated to minimize ink fumes.
Emergency Preparedness: Have a plan for ink spills and other emergencies.
6. Troubleshooting Workflow
Developing a systematic approach to troubleshooting can streamline the process:
Identify the Symptom: Clearly define the issue.
Gather Information: Collect relevant data, such as printer logs and recent changes.
Analyze Possible Causes: List potential reasons for the problem.
Implement Solutions: Start with the most likely solution and work your way down the list.
Verify: Test the printer to ensure the issue is resolved.
Document: Keep a record of the issue, its cause, and the solution for future reference.
Mastering the troubleshooting of UV flatbed printers requires a combination of technical knowledge, practical experience, and a systematic approach. By understanding the printer’s components, recognizing common issues, and implementing effective solutions, advanced users can maintain optimal printer performance and produce high-quality prints consistently. Regular maintenance, safety practices, and advanced diagnostics further enhance the troubleshooting capabilities, ensuring that UV flatbed printers remain a reliable and efficient tool in the printing industry.
Remember, troubleshooting is an ongoing learning process. As technology evolves, so will the challenges you face. Stay informed, stay curious, and continue to refine your skills to stay ahead in the game.
